Etching and Pitting in Ultrasonic Cleaning: Causes and Prevention Guide
Table of Contents
- What Etching and Pitting Look Like
- Why Cavitation Can Attack the Base Material
- Process and Chemistry Causes
- Material-Specific Risk Factors
- Prevention Controls for Production
- Process Support and Next Steps
- Frequently Asked Questions
- How can I tell etching from pitting?
- Does higher ultrasonic power clean faster?
- Can aluminum be cleaned in an ultrasonic tank without pitting?
- Will increasing frequency prevent all pitting?
- References
Ultrasonic cleaning is often seen as a low-risk surface preparation method because it removes contamination without mechanical scrubbing. In practice, the same cavitation field that removes grease, chips, and films can also attack the base metal if the process is not correctly matched to the part. The two visible defects that cause the most confusion are etching and pitting. Etching is a broad surface change, usually dulling or roughening of large areas. Pitting is localized material loss that appears as craters, dots, or small cavities. Both can reduce dimensional accuracy, harm fatigue life, create corrosion initiation points, and cause coating adhesion failures.
Pre-Coating Cleaning Industry Solutions
What Etching and Pitting Look Like
Etching generally appears as a uniform or patchy loss of surface brightness. On aluminum, it may look chalky or white; on brass and copper, it may appear as a dull stain; on steel, it may show as a change in shade or loss of machined tool marks. The damage is often spread across the surface and follows the areas where the cleaning chemistry has the greatest contact.
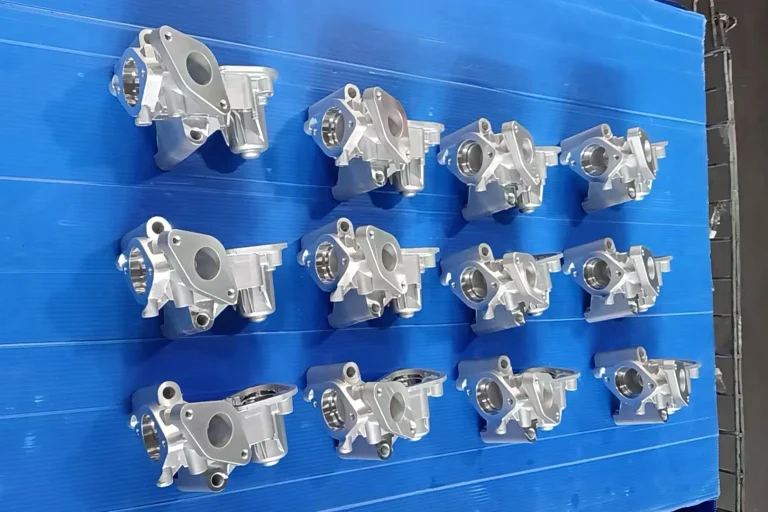
Pitting is different. The surface may still look bright between the defects, but there are discrete depressions. In early cavitation damage, pits may be small and shallow. In more advanced attack, they become deeper, undercut, or clustered. Cavitation erosion under controlled laboratory conditions is evaluated by a vibratory test method, as described in ASTM G32 [1]. That type of standardized inspection helps separate erosive mechanical damage from chemical etching.
Because etching and pitting can occur at the same time, the correction is not always a single parameter. The first step is to determine whether the driver is primarily cavitation energy, chemistry, residual contaminant, or a combination.
Why Cavitation Can Attack the Base Material
Ultrasonic cleaning works by creating alternating compression and rarefaction waves in the liquid. During the rarefaction phase, dissolved gas and vapor form bubbles. During the compression phase, those bubbles collapse violently. The collapse produces microjets and shock waves that dislodge contamination.
The same mechanical action can remove substrate material. Large, energetic bubble collapse creates repeated impact on the surface. After enough cycles, fatigue-like damage appears. The intensity is not uniform across the tank. Parts placed directly above a transducer radiating face or in a high-energy standing-wave zone receive stronger cavitation than parts in quieter areas.
Frequency is one of the strongest controls. Lower ultrasonic frequencies, including 20 kHz and 28 kHz, generally create larger bubbles and more aggressive implosions. Higher frequencies, including 40 kHz and 80 kHz, create smaller bubbles and lower surface impact. For a part that is already clean, higher energy is not better; it simply increases the risk of surface attack.
Cavitation intensity determines whether a process cleans or erodes. <Ultrasonic Cleaning Process: A Step by Step Technical Guide> covers how transducer placement, generator tuning, and tank configuration change the cavitation field delivered to the part surface.
Process and Chemistry Causes
Most etching and pitting defects in production ultrasonic cleaning come from a small group of process variables.
Power density and amplitude. The electrical power delivered to the transducers is converted into mechanical energy in the liquid. When power density is too high for a delicate substrate, cavitation becomes erosive instead of cleaning. This is especially true when powerful 20 kHz or 28 kHz systems are used for long cycles on soft metals or thin sections.
Exposure time. Ultrasonic cleaning does not automatically stop when the surface is clean. If parts remain in an energized tank after the contamination is gone, the cavitation field continues to hammer the base metal. The cleanest visual result can still have damaged edges, threads, and polished surfaces.
Detergent pH and chemistry. Alkaline cleaners are effective on oils and greases but chemically attack aluminum, magnesium, zinc, and some copper alloys. Acidic cleaners remove oxides and scale but can etch steel, copper, and brass if concentration or time is excessive. Choosing a cleaner is not just about soil removal; it is also about compatibility with the substrate. Immersion corrosion testing of a candidate alloy and detergent combination can be screened using a method such as ASTM G31 [2].
Temperature. Elevated tank temperature accelerates both cleaning and chemical attack. Hot alkaline baths are more aggressive on active metals. If the heater band is too hot or the tank is not stirred properly, local temperature differences can cause non-uniform etching.
Residual chlorides and salts. Pitting on stainless steel is often traced to chloride-containing process water, fingerprints, or salt residues. When cavitation breaks the passive film, chloride ions can initiate localized attack. This is why final rinse quality and drying time matter.
Galvanic coupling. A part in contact with a dissimilar metal basket, fixturing pin, or another part can experience galvanic corrosion. The damage appears as pitting, staining, or local film formation at the contact point.
The table below summarizes the most common field symptoms and the first parameter to check.
| Symptom | Likely cause | First corrective action |
|---|---|---|
| Uniform dulling or white film over broad area | Alkaline/acid detergent mismatch | Reduce temperature and time; switch to compatible cleaner |
| Pitting above transducer faces | Excessive cavitation intensity | Change to higher frequency or reduce power density |
| Pits concentrated under residue spots | Chloride or salt residue | Improve pre-cleaning and final DI water rinse |
| Edge, thread, or corner material loss | Excessive exposure time | Set automatic timer; remove parts immediately after cleaning |
| Damage only at basket contact points | Galvanic couple or rubbing | Use compatible basket material or coated contact pads |
Material-Specific Risk Factors
Aluminum and magnesium are the most sensitive metals in routine production. Their natural oxide film provides corrosion resistance but is chemically reactive with strong alkaline cleaners. Once the oxide is removed, the fresh metal is attacked quickly. Pitting on aluminum often occurs when chlorides remain on the surface after rinsing. A higher ultrasonic frequency and a near-neutral or specially inhibited cleaner are usually safer.
Brass and copper lose brightness rapidly in aggressive solutions. Copper alloys can stain, darken, or undergo selective attack if the detergent contains ammonia or strong alkaline compounds. Long ultrasonic exposure at low frequency can also remove material from letters, threads, and fine details. Lower power, shorter total time, and a cleaner designed for copper alloys help preserve the finish.
Stainless steel and titanium are more resistant to uniform etching, but they are not immune. Chloride attack on stainless steel, inadequate passive films, or heavy cavitation of polished surfaces can create pitting. Passivation is often used after cleaning to restore and reinforce the protective oxide layer. Surface engineering references such as ASM Handbook Volume 5 describe passivation and related surface treatments for corrosion resistance [3].
Aluminum, brass, and stainless steel respond differently to the same ultrasonic field. <Industrial Ultrasonic Cleaners Versus Traditional Cleaning Methods> covers how controlled cavitation, chemistry, and cycle timing limit surface attack compared with aggressive mechanical scrubbing or uncontrolled immersion.
Prevention Controls for Production
A reliable ultrasonic cleaning process is built around a defined window, not a single cleaning recipe.
Start with the part specification. Record the alloy, heat treatment, hardness, surface finish, allowable dimensional change, and the post-cleaning process. Parts that will be plated, coated, welded, or assembled may have very different limits on surface attack.
Select frequency by substrate. For mixed metals and small or delicate details, 40 kHz is a common production default. For softer metals, polished parts, or high-value components, 68 kHz or 80 kHz reduces cavitation aggressiveness. Reserve 20 kHz and 28 kHz for heavy steel or iron parts with carbonized oil, scale, or deep cavities, and verify the surface after pilot testing.
Set power density conservatively. Begin with the lowest amplitude or power setting that achieves the required cleanliness in the available cycle time. If cleaning is incomplete, increase power in small steps rather than starting at maximum. A process that cleans too quickly may be operating at an unnecessary damage risk.
Control chemistry and concentration. Use a detergent formulated for the metal family and the contaminant. Maintain concentration with titration or conductivity control, not by visual appearance. Add rust inhibitors or anti-tarnish packages only when the cleaner manufacturer confirms compatibility and when they do not leave residue that harms downstream coating or plating.
Limit temperature and time. Use closed-loop heating and avoid excessive setpoints. For aluminum in an alkaline cleaner, operate near the low end of the detergent manufacturer’s recommended temperature range. Set the cycle timer to remove parts as soon as the required cleanliness is reached. Do not leave parts in energized liquid during lunch breaks, shift changes, or overnight.
Rinse immediately. The chemical action does not stop when ultrasonic energy switches off if detergent remains on the part. Move the basket to a rinse tank quickly. A final deionized water rinse reduces chloride residue, detergent residue, and water spotting.
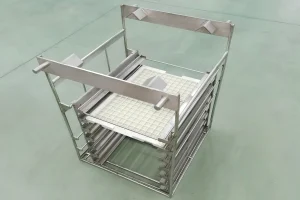
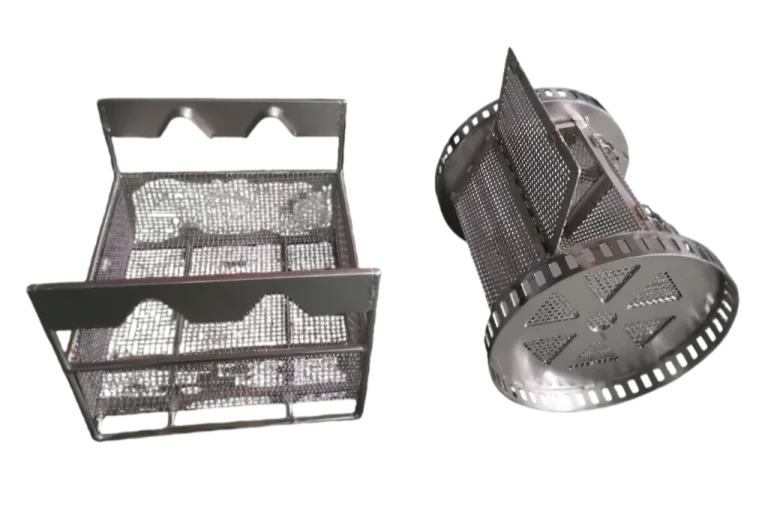
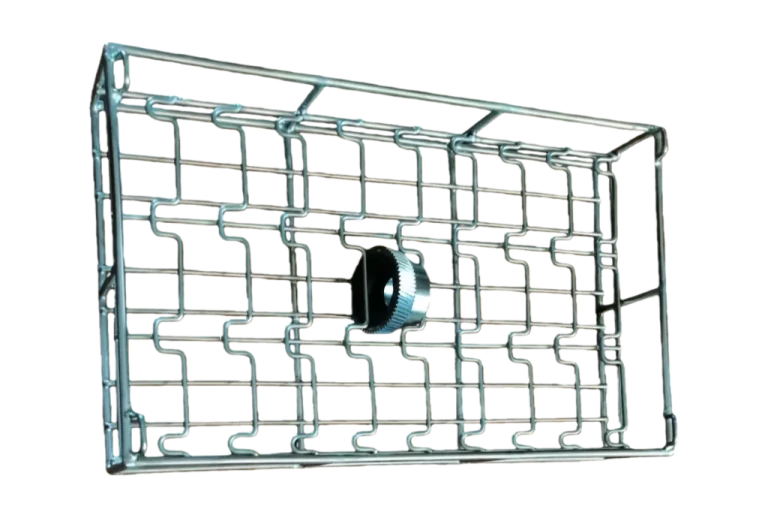
Design the basket and fixture set. The basket should allow drainage, expose surfaces to cavitation, prevent parts from nesting, and avoid hard metal-to-metal contact. Contact points become sites for rubbing, fretting, or galvanic attack. For blind holes and recessed features, orient parts so vapor and liquid can escape. If the basket material differs from the part material, inspect the contact area for early damage.
Pilot before full production. Run sacrificial parts or low-value coupons at several combinations of frequency, power, time, and temperature. Inspect under magnification after each trial. For critical components, validate the process with a cleanliness measurement method. Optical particle counting, gravimetric residue, and pore/cavity inspection can be part of a cleanliness verification plan according to ISO 16232 [4].
A repeatable process matters more than raw ultrasonic power. <Choosing the Right Ultrasonic Cleaning System for Industrial Success> covers how frequency, power density, tank configuration, and automation controls are matched to cleanliness requirements.
Need a process check before full production? Send part drawings, material grade, current detergent, and clear images of the defect to [email protected]. The most useful pilot programs include sacrificial coupons or low-value parts at three power settings and three exposure times.
Process Support and Next Steps
If you are revalidating an existing line or selecting new equipment for sensitive materials, start with the allowable surface condition and work backward to the cleaning parameters. The machine, recirculation filtration, basket, wash chemistry, rinse, and drying must all support the same process window.
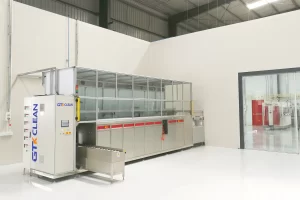
GTKCLEAN designs and manufactures automated multi-tank ultrasonic cleaning systems, basket-handling systems, filtration, rinsing, and drying equipment for industrial parts. For an etching or pitting problem on a new alloy, a high-value component, or a high-volume production line, contact GTKCLEAN at [email protected] or +86 17768507147 with the part material, maximum allowable dimensional change, and target cleanliness.
Frequently Asked Questions
How can I tell etching from pitting?
Etching tends to affect a large area and makes the surface appear dull, chalky, or uniformly roughened. Pitting appears as discrete depressions, craters, or dots. Magnification helps: broad surface loss is more likely chemical, while localized mechanical cavities or corrosion pits point to cavitation intensity, residue, or galvanic attack.
Does higher ultrasonic power clean faster?
Not necessarily. Higher power can speed up heavy contamination removal, but beyond a certain level it begins to erode the substrate. The safer approach is to use the lowest power that achieves the required cleanliness within the production cycle time.
Can aluminum be cleaned in an ultrasonic tank without pitting?
Yes. Aluminum can be cleaned safely when the detergent is compatible, pH is controlled, temperature is moderate, frequency is high enough for the geometry, and the exposure time is limited. An immediate rinse after cleaning is also important.
Will increasing frequency prevent all pitting?
No. Higher frequency reduces cavitation intensity and lowers mechanical pitting tendency, but chemical attack, chloride residue, galvanic coupling, or excessive time can still cause defects. Frequency should be managed alongside chemistry, temperature, rinse, and fixturing.
References
[1] ASTM International, ASTM G32-16: Standard Test Method for Cavitation Erosion Using Vibratory Apparatus, ASTM International, West Conshohocken, PA, 2016.
[2] ASTM International, ASTM G31-72(2004): Standard Guide for Laboratory Immersion Corrosion Testing of Metals, ASTM International, West Conshohocken, PA, 2004.
[3] ASM International, ASM Handbook Volume 5: Surface Engineering, ASM International, Materials Park, OH, 1994.
[4] International Organization for Standardization, ISO 16232:2018: Road Vehicles — Cleanliness of Components and Systems, ISO, Geneva, Switzerland, 2018.
If you’re interested, check out these related articles:
Solvent Recovery Systems: Unlocking Industrial Cost Savings
How to Ensure Perfect Coating Adhesion Without Water Spots or Stains?
Ultrasonic Cleaning Equipment Explained: The Ultimate Guide