How Long Should Ultrasonic Cleaning Take? Cycle Time Factors
Table of Contents
- Why Ultrasonic Cleaning Time Is Not a Standard Setting
- Six Factors That Control Cycle Time
- 1. Part Geometry and Blind Features
- 2. Contaminant Type and Loading
- 3. Chemistry and Operating Temperature
- 4. Ultrasonic Power Density and Frequency
- 5. Basket Design and Part Orientation
- 6. Degassing and Tank Condition
- Typical Cycle Time Ranges by Application
- How to Build a Repeatable Cleaning-Time Protocol
- When a Published Range Is Not Enough
- Contact an Ultrasonic Cleaning Engineer
- Frequently Asked Questions
- How long should a typical ultrasonic cleaning cycle last?
- Does higher temperature shorten ultrasonic cleaning time?
- Do I need to degas before starting the timer?
- Can I shorten cycle time by loading more parts?
- How often should cleaning time be adjusted?
- What if longer ultrasonic exposure damages the part surface?
- References
Ultrasonic cleaning time is not a number that can be read from a wall chart. The right answer depends on part geometry, contaminant type, bath chemistry, temperature, ultrasonic power density, loading, and the cleanliness specification the parts must meet. In most process-development work, the active ultrasonic stage is usually several minutes per tank, but the total line time also includes degassing, rinsing, drying, and inspection. The goal is not to run the timer longer; it is to reach a measurable cleanliness level repeatably [1].
Why Ultrasonic Cleaning Time Is Not a Standard Setting
A parts washing line is a system, not a timer. Cavitation removes contamination from the surface, but the cleaning chemical must also wet the part, penetrate blind features, and carry removed soil away. If any of those steps is slow, simply increasing ultrasonic time may produce only marginal gains at the cost of energy, chemical consumption, and possible surface damage.
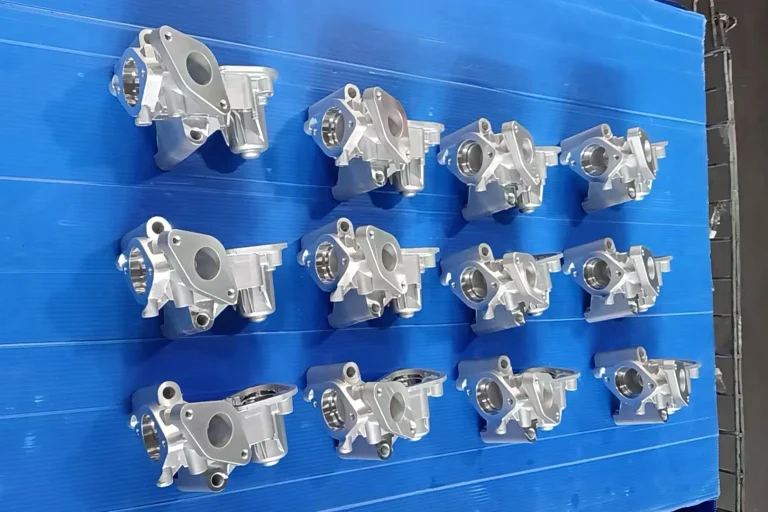
For example, a stamped aluminum part with light oil may clean in a few minutes, while a machined component with fine threads, blind holes, and burned-on carbon can require a longer ultrasonic stage at higher temperature. For this reason, experienced process engineers treat published cycle times as planning references rather than fixed production values [1].
Six Factors That Control Cycle Time
1. Part Geometry and Blind Features
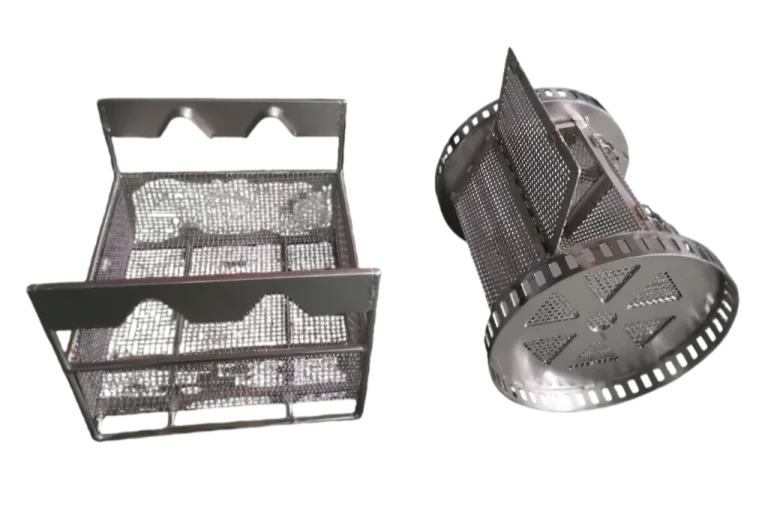
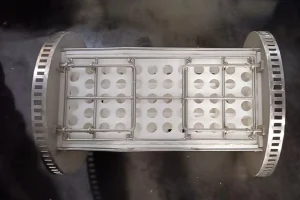
Cavitation is most intense near the transducer side of the tank and becomes less uniform inside deep recesses. Threads, blind holes, narrow slots, and assembled interfaces can trap air or contaminants, slowing the cleaning mechanism. Rotating baskets or part reorientation often help more than extending time alone.
2. Contaminant Type and Loading
Light cutting fluids, water-soluble coolants, and light oils respond quickly. Baked-on carbon, varnish, heavy oxides, stamping compounds, and anti-rust residues take longer and may require a pre-wash stage. Overloading a basket reduces cavitation uniformity and may leave impingement shadows on the parts.
3. Chemistry and Operating Temperature
The cleaning chemistry does much of the work that ultrasonic energy initiates. Warming an aqueous bath lowers viscosity, improves wetting, and speeds oil removal, but the correct operating temperature depends on the detergent and the substrate. Too high a temperature can damage heat-sensitive parts and may reduce cavitation intensity in some water-based systems.
4. Ultrasonic Power Density and Frequency
Lower frequencies, such as 20–28 kHz, generate larger, more energetic cavitation bubbles and are usually selected for heavy soils on hard metals. Higher frequencies, such as 40–80 kHz, produce finer cavitation and are better for delicate or highly finished surfaces. Low power density can stretch cycle time because cavitation never reaches full intensity across the tank.
Ultrasonic power density affects cavitation intensity and therefore the time required to reach a target cleanliness level. <How to Choose the Best Ultrasonic Power for an Ultrasonic Cleaning Machine> covers the watt-density trade-offs that should inform any cycle time study.
Frequency changes cavitation bubble size and cleaning aggression. <How to Select the Frequency for Ultrasonic Cleaning Equipment> explains how frequency choice affects both cleaning speed and the risk of surface damage.
5. Basket Design and Part Orientation
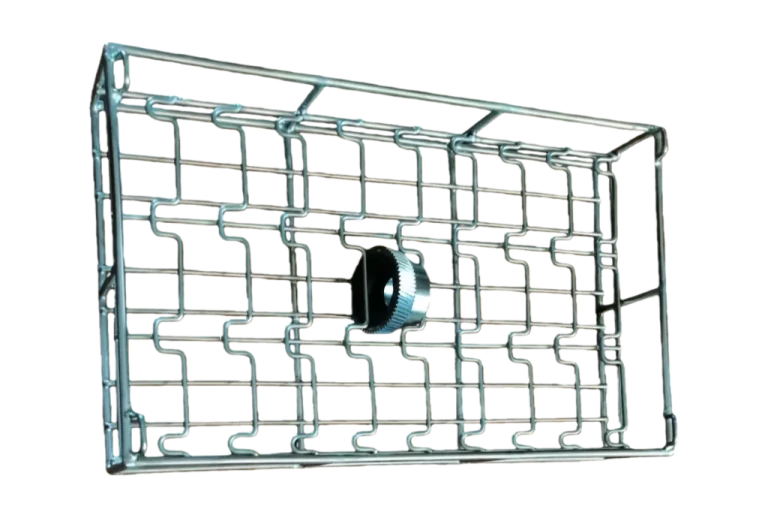
A basket can block ultrasonic energy if it is densely loaded or if parts shield one another. Cleaning baskets should hold parts securely while allowing cleaning solution to reach all critical surfaces. Blind holes should be oriented so that trapped air can escape and chemistry can enter.
6. Degassing and Tank Condition
Fresh or refilled cleaning baths contain dissolved gas that damps cavitation. Degassing time depends on tank volume, water quality, chemistry, and liquid column depth. Rushing into a timing study before the bath is degassed often produces false cycle-time data because the tank is not yet cleaning at full intensity [3].
Typical Cycle Time Ranges by Application
The values below are practical planning ranges for process development. They should be validated on real parts under production loading, basket orientation, and cleanliness requirements [1][3].
| Application or contaminant | Typical active ultrasonic stage |
|---|---|
| Light machining oils, coolants, chips | 2–10 min |
| Stamping oils, fingerprints, general oils | 5–15 min |
| Medical instruments and implants | 5–15 min |
| Pre-coating or pre-PVD surfaces | 5–6 min per tank |
| Carbon deposits, heavy oxides, heat-treat scale | 20–40 min |
| Blind holes, fine threads, narrow slits | Add 50–100% to baseline |
These figures assume the chemistry is fresh, the temperature is within the detergent’s recommended range, and the ultrasonic power density is appropriate for the tank. A multi-stage machine can shorten total process time by separating degreasing, rinsing, and drying into dedicated stations instead of making one tank perform every role.
Multi-tank configurations change cycle time by allowing each stage to be optimized independently. <How to Choose Multi-Tank Ultrasonic Systems for High Volume> covers line layout decisions that affect throughput and cleaning consistency.
How to Build a Repeatable Cleaning-Time Protocol
A defensible ultrasonic cleaning time starts with a defined cleanliness target. For precision automotive or hydraulic components, that target may be expressed as particle count, gravimetric mass, or maximum particle size according to ISO 16232 or a similar cleanliness standard [2].
Use the following sequence for a new part or new contaminant:
- Define the critical contaminant and final cleanliness requirement.
- Select a chemistry and temperature appropriate for the substrate.
- Degas the bath before timing begins.
- Clean a small sample batch with consistent basket orientation and loading.
- Inspect for residue, water marks, corrosion, and surface change.
- If cleaning is incomplete, adjust chemistry, temperature, power density, frequency, or part orientation before extending time.
- Validate the final cycle across multiple baskets and production shifts.

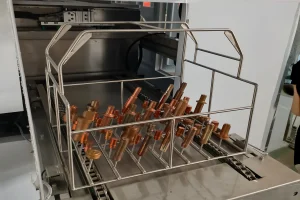
A useful field example is a pre-PVD cleaning process using a multi-stage ultrasonic line. The active ultrasonic cleaner may run approximately 5–6 minutes per tank, followed by ultrapure water rinsing, air-knife or hot-air drying, and inspection. The short active stage works because the chemistry is matched to the contaminant and the tank is not overloaded.
When a Published Range Is Not Enough
If your parts have blind holes, mixed materials, or a strict particle specification, a general cycle-time table will not close the process qualification. Send part material, dimensions, contaminant, and production rate to [email protected] or call +86 17768507147 for application-level guidance. An ultrasonic cleaning engineer can help define the active stage, basket orientation, and expected cycle time before equipment is specified.
Contact an Ultrasonic Cleaning Engineer
Cleaning time is a process output, not a fixed machine setting. When the application is new, the cleanliness requirement is strict, or the current line is taking too long, an engineering review usually identifies the limiting stage.
To help us recommend a cycle time and system configuration, prepare:
- Part material, dimensions, geometry, and critical cleanliness areas
- Primary contaminant and current cleaning method
- Required cleanliness specification or downstream process
- Production rate, batch size, and available floor space
Contact GTKCLEAN technical staff at [email protected] or +86 17768507147 for application-specific ultrasonic cleaning cycle development.
Frequently Asked Questions
How long should a typical ultrasonic cleaning cycle last?
For light industrial contamination, the active ultrasonic stage often runs from 2 to 10 minutes; heavier soils or complex parts may require 20–40 minutes or a multi-stage process. The reliable approach is to validate the cycle by measuring cleanliness rather than relying on a timer alone.
Does higher temperature shorten ultrasonic cleaning time?
A warm bath often speeds oil removal by reducing viscosity and improving detergent activity, but excessive heat can damage parts or reduce cavitation in water-based systems. The correct temperature depends on the detergent, the substrate, and the contaminant.
Do I need to degas before starting the timer?
Yes. Fresh or refilled chemistry contains gas that dampens cavitation. Degassing should be completed before timing the active cleaning stage, otherwise the recorded cycle time may not represent a production-ready tank [3].
Can I shorten cycle time by loading more parts?
Usually not. Dense loading reduces cavitation uniformity and may shield parts from effective cleaning. The faster approach is to optimize basket design, part orientation, chemistry, and ultrasonic power density instead of overloading the bath.
How often should cleaning time be adjusted?
Adjust the cycle whenever part design, contaminant, chemistry concentration, temperature, loading, or cleanliness specification changes significantly. A production-validated setting should not be changed without a controlled trial.
What if longer ultrasonic exposure damages the part surface?
Stop and reduce the aggressive variables before extending time. Shorter exposure at higher frequency, lower power density, or milder chemistry may protect the surface while still meeting the cleanliness target [1].
References
[1] ASTM G131-96, Standard Practice for Cleaning of Materials by Ultrasonic Techniques, ASTM International, West Conshohocken, PA.
[2] ISO 16232:2018, Road Vehicles — Cleanliness of Components of Fluid Circuits, International Organization for Standardization, Geneva.
[3] B. Kanegsberg and E. Kanegsberg, Handbook for Critical Cleaning, 2nd ed., CRC Press, Boca Raton, FL, 2011.
If you’re interested, check out these related articles:
Precision Cleaning: The Role of Surface Energy in High-Performance Coating
How to Choose Cleaning Equipment for Medical Device Manufacturing
Stamped Parts Cleaning Solutions – GTK
What Is Ultrasonic Wave?