Rinse Aids and Detergent Residue: Why Parts Emerge Dirty
Table of Contents
- The Two Main Residue Paths
- What Detergent Residue Looks Like on Cleaned Parts
- How Rinse Aids Work — and How They Backfire
- Water Quality and Rinse Stage Design
- Process Parameters That Drive Residue
- Detecting Residue Before It Escapes the Line
- Corrective Sequence for Dirty Parts
- Equipment Choices That Reduce Residue
- Resolve Residue Problems at the Process Level
- FAQ
- Can rinse aid itself make parts dirty?
- How do I know if residue is detergent or water spot?
- Does DI water eliminate the need for rinse aids?
- What rinse aid concentration should I use?
- Can ultrasonic cleaning remove existing residue?
- References
Parts can pass through an aggressive wash stage, look wet-clean, and then dry dirty. White films, haze rings, rainbow sheen, salt-like blooms, or sticky patches are common. The cause is usually not the cleaning step; it is what remains after rinsing. Detergent surfactants, builders, water hardness minerals, and rinse-aid components that are not removed before drying become the residue the operator sees. Once that film is baked on, rework is often the only fix.
The Two Main Residue Paths
Residue on cleaned parts follows two main paths: detergent carry-over and rinse-aid deposition.
Detergent carry-over occurs when wash chemistry is dragged into the rinse stage faster than the rinse volume can dilute it, or when saturated cleaning solution remains trapped in blind holes, threads, and narrow gaps. As the part drains and dries, dissolved detergent and builders form a film. Rinse-aid deposition occurs when the rinse aid itself is over-dosed, incompatible with the water quality, or exposed to temperatures at which its nonvolatile fraction plates out. The film may be organic, inorganic, or mixed, so the correction is diagnostic rather than guesswork [5].
What Detergent Residue Looks Like on Cleaned Parts
Identification narrows the possible source. The same white deposit can be sodium silicate, phosphate, carbonate scale, surfactant film, or dissolved solids from tap water [2]. Table 1 groups the common signatures.
| Residue type | Typical source | On-part signature | Downstream risk |
|---|---|---|---|
| Surfactant film | Over-dosed detergent, low rinse volume | Hydrophobic haze, water beading, sticky touch | Loss of coating adhesion, particle reattachment |
| Builder salts | Alkaline detergent, hard water | White crystalline bloom, salt tails around holes | Electrical leakage, corrosion initiation |
| Rinse-aid film | Over-concentrated rinse aid, low rinse temperature | Rainbow sheen, wetting unevenness | Paint or plating rejects, adhesive failure |
| Mineral scale | Hard water or spent DI water | White spots, ring-shaped deposits | Dimensional interference, optical defects |
| Redeposited soil | Saturated rinse bath | Gray haze, particle clusters | Poor final cleanliness, downstream contamination |
The table is not a full chemical analysis, but it separates process failures that need different corrections.
How Rinse Aids Work — and How They Backfire
Rinse aids lower surface tension so rinse water drains as a continuous sheet instead of isolated droplets. That is useful for complex geometries, low clearances, and high-speed drying. The problem is that rinse aids are themselves formulated organic materials. If the dose is above the recommended range, or if the rinse stage is too short to carry the active component away, the aid becomes the residue.
Temperature matters. A rinse aid that performs well at 45–50 °C may leave a visible film when the rinse water is cold and viscosity remains high. Water hardness can also deactivate or precipitate some rinse-aid packages. For these reasons, cleaning-agent validation should compare soiled coupons, dosed chemistry, and rinse conditions as a system, as described in ASTM G122 [2].
Detergent films and water spots become direct adhesion risks when parts enter coating. <How to Ensure Perfect Coating Adhesion Without Water Spots or Stains?> covers how stain-free rinsing and drying protect coating adhesion.
Water Quality and Rinse Stage Design
Rinse water cannot remove detergent residue if it is already loaded with dissolved solids. For critical parts, Type I reagent water per ASTM D1193 is specified at >18 MΩ·cm resistivity at 25 °C, with low TOC and particulate limits [1]. Less critical operations may use RO water or RO/DI blends, but the lower the water quality, the greater the risk of mineral residue, especially after hot drying.
A well-designed rinse stage uses counterflow or cascade rinsing so the final liquid leaving the parts is cleaner than the fluid entering earlier stages. Overflow ratio, spray impingement, and drain time all affect whether detergent is diluted below its deposit point before the part leaves the rinse tank.
When residue is a repeat failure before PVD, DLC, or CVD coating, the cleaning sequence must remove not only particles but also invisible detergent films. <Pre-Coating Cleaning Solutions for PVD – GTK> covers multi-stage cleaning routes that reduce residue carry-over.
Process Parameters That Drive Residue
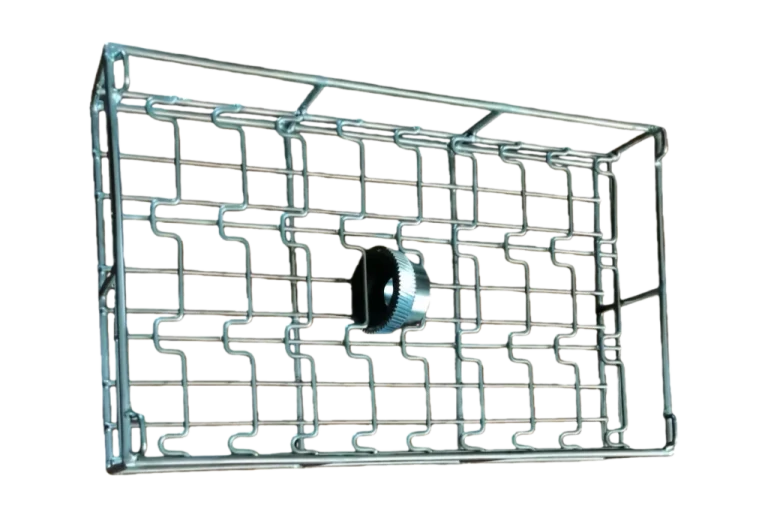
Rinse quality is not only a chemistry problem. Parts orientation, basket design, and drain position determine whether fluid escapes or remains trapped. A cup-shaped part facing upward can carry rinse water into the dryer; a blind hole below the fill line can retain detergent even after multiple rinses.
Useful control points include detergent concentration, rinse-aid dose, rinse water conductivity, rinse temperature, and drying profile. Rinse water conductivity is especially valuable because it rises when detergent or rinse aid is present. Measuring the final-stage conductivity against the incoming water gives a fast indication of carry-over.
If you are seeing repeat residue failures and cannot identify whether the source is detergent, rinse aid, or water quality, send process data and part photos to [email protected] with the subject line “residue failure.” A cleaning engineer can help narrow the variables before you change tanks or chemistry.
Detecting Residue Before It Escapes the Line
Residue that is invisible in normal light may still cause a coating or assembly failure. Water break testing, UV inspection, and simple conductivity rise tests catch many issues before parts leave the line [3]. USP <1231> outlines conductivity and TOC monitoring principles that transfer well to industrial final rinse control [4].
| Detection method | What it identifies | Best use |
|---|---|---|
| Water break test | Hydrophobic surfactant film | Fast qualitative check on flat areas |
| UV inspection | Organic residue fluorescence | Complex parts, blind holes, threads |
| Conductivity rise | Ionic detergent or mineral contamination | Final rinse water, automated alarm |
| Gravimetric extraction | Total nonvolatile residue | Validation of the full process |
| Visual under magnification | Crystalline deposits and dried droplets | Operator audit and rework disposition |
Corrective Sequence for Dirty Parts
When parts emerge dirty after cleaning, the fastest correction follows a fixed sequence:
- Test the incoming rinse water. If DI or RO quality has changed, mineral residue can appear without any detergent fault.
- Measure final rinse conductivity. A rising trend indicates carry-over or a saturated rinse tank.
- Check rinse-aid dosing. Over-dosing is a common and easily corrected cause.
- Review part orientation and drain time. Trapped liquid becomes a concentrated residue after drying.
- Run a cleaned, unsoiled coupon through the process to isolate mechanical issues from incoming soil load.
This sequence avoids replacing detergent or rinse aid before the actual cause is identified.
Equipment Choices That Reduce Residue
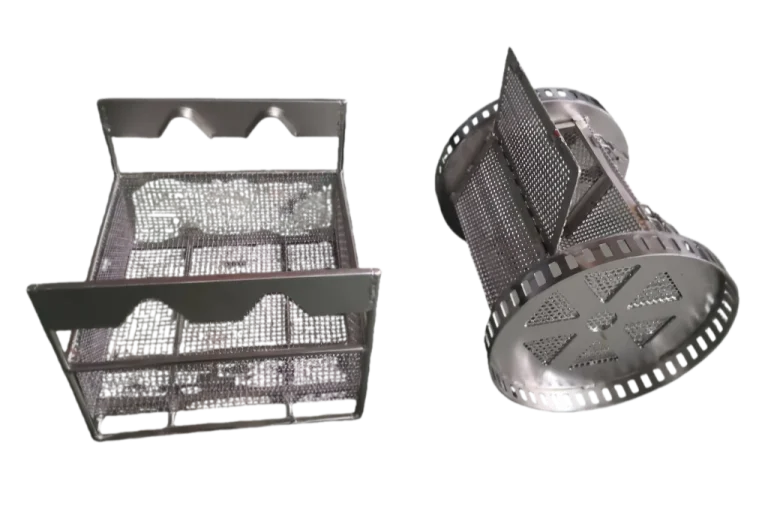
Single-tank manual lines often struggle because washing, rinsing, and drying share the same geometry. A multi-stage automated system dedicates stations to wash, first rinse, final rinse, and drying, which makes carry-over easier to control. Rotating baskets improve drainage from blind holes; air knives or vacuum drying remove droplets before they dry into spots.
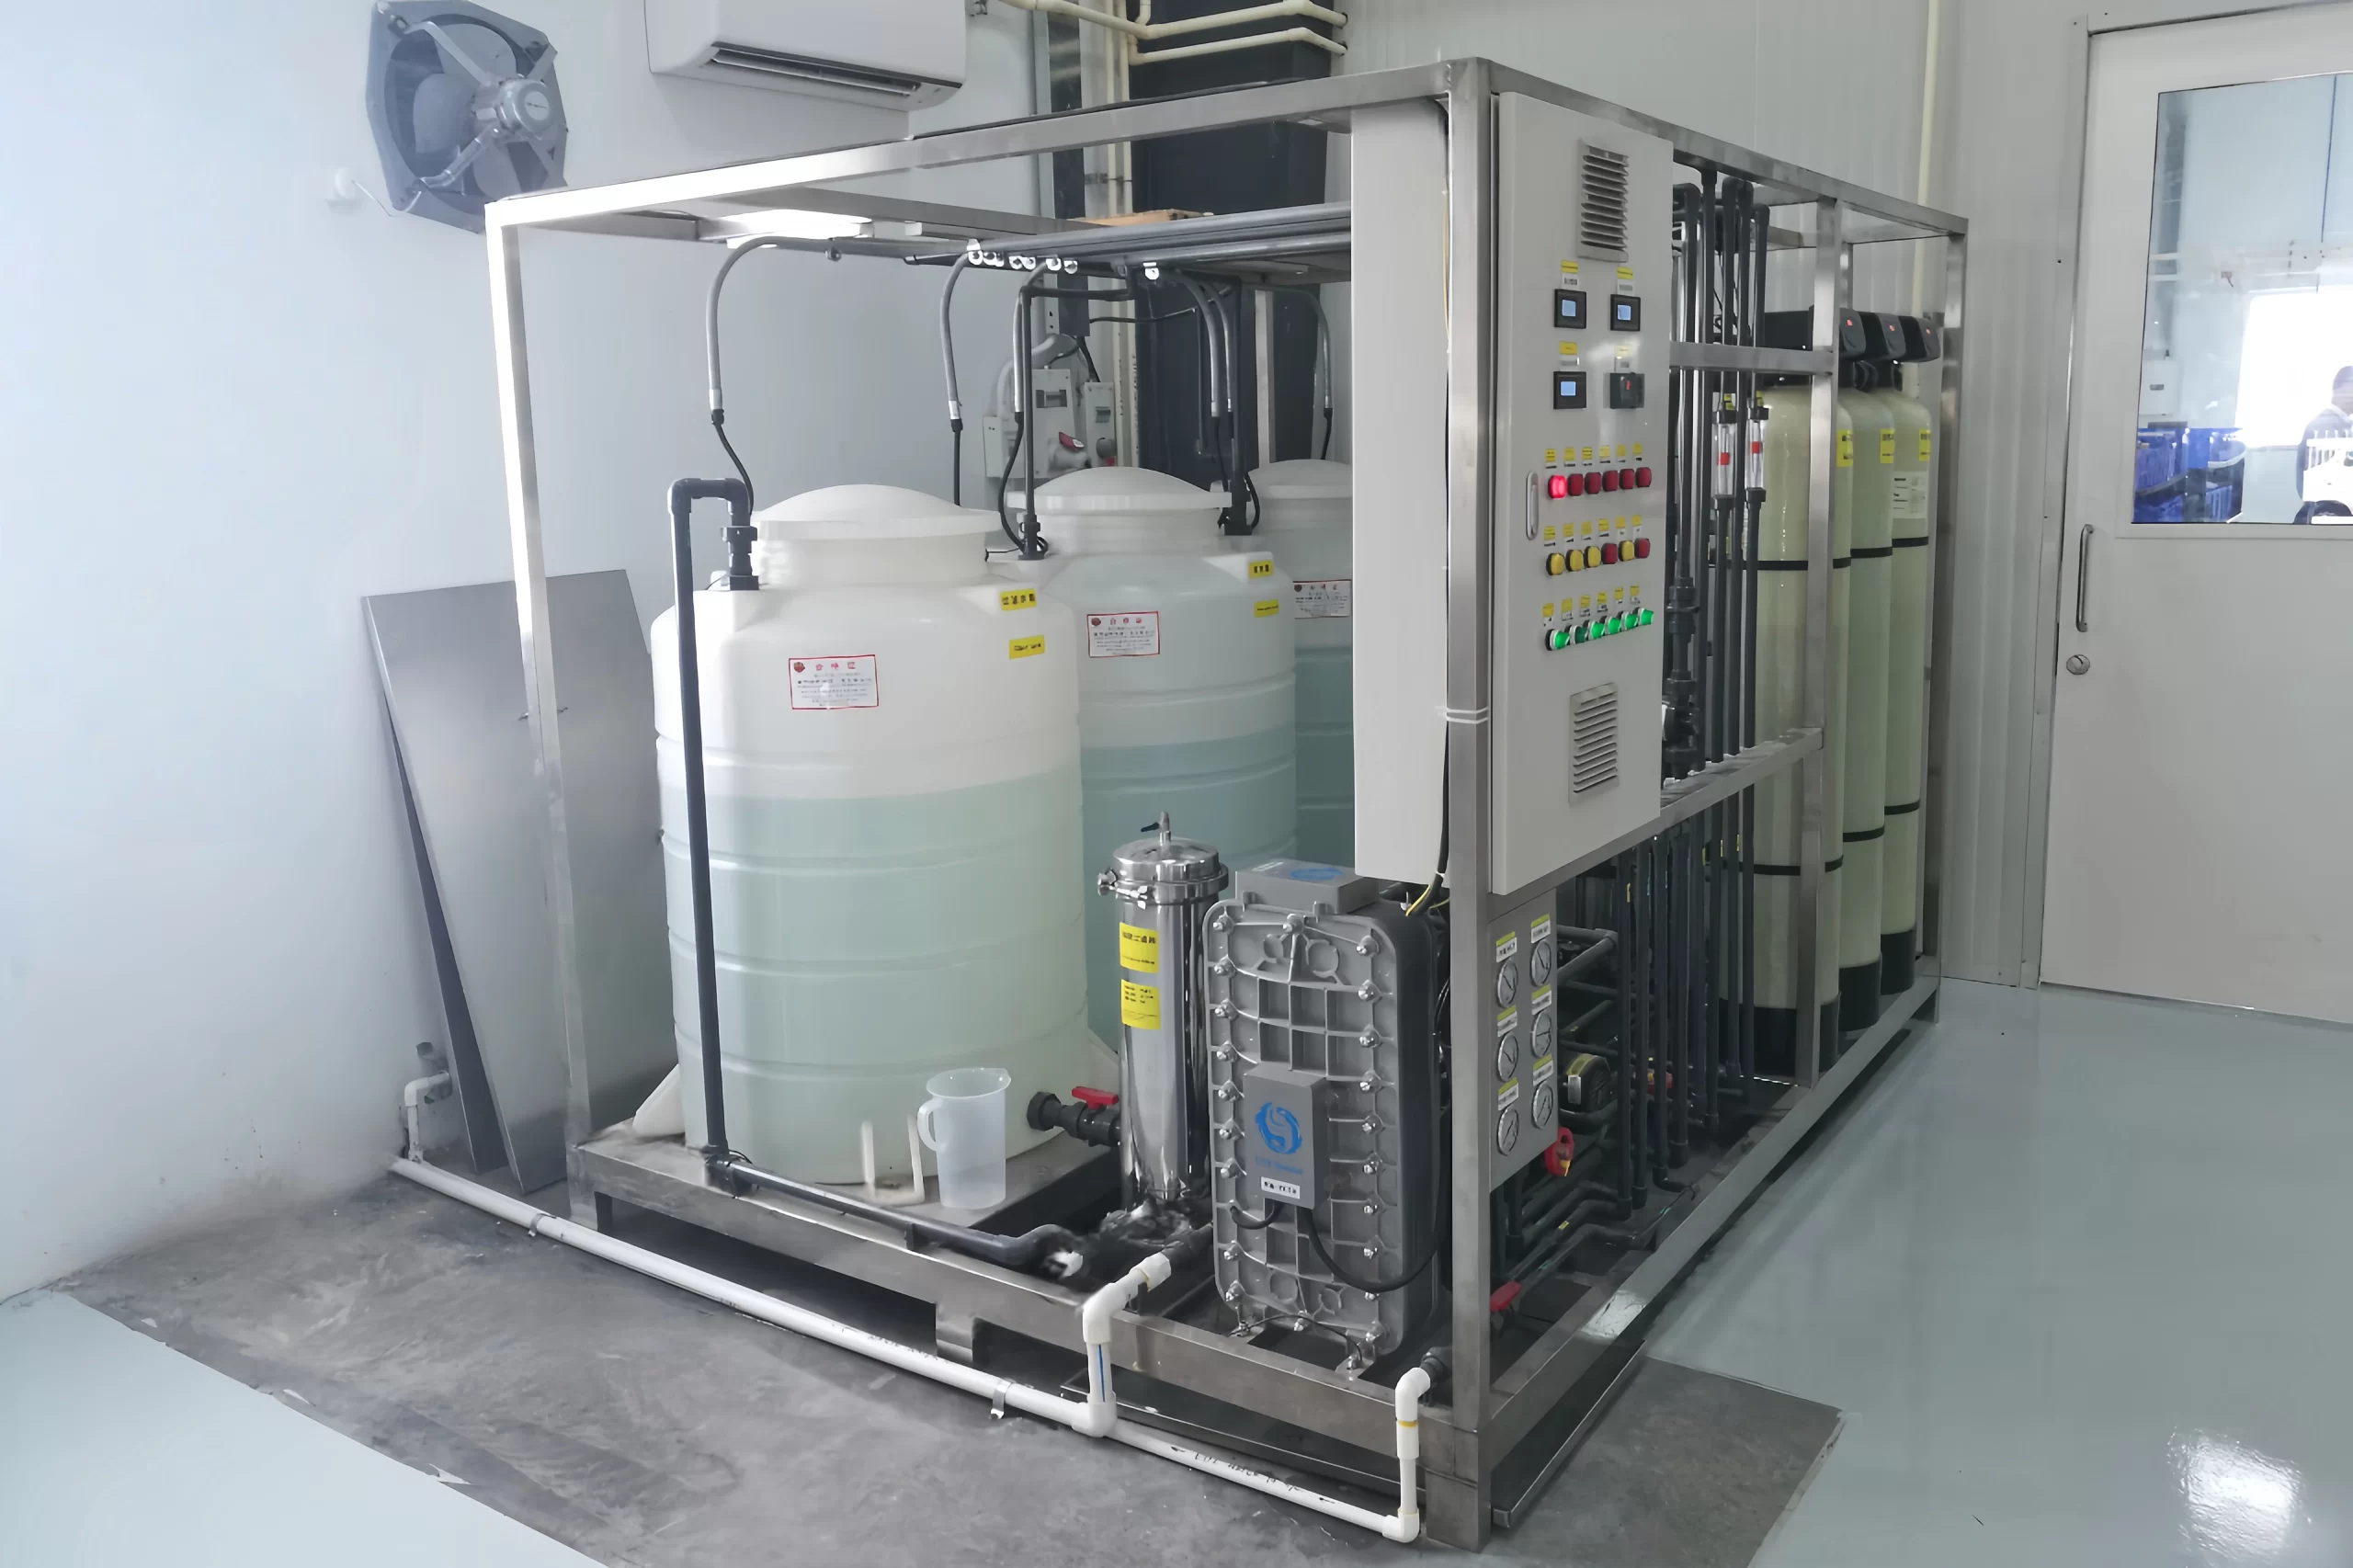
In one GTKCLEAN pre-PVD cleaning cell, the rinse train uses multistage ultrapure water with final conductivity maintained at ≤0.06 µS/cm, followed by air knife or vacuum drying for complex parts. The layout is designed so parts do not sit in contaminated rinse fluid between stages.
When residue is caused by the wrong cleaning chemistry rather than rinse water alone, selecting the correct system matters. <How to Choose Between Aqueous and Solvent Cleaning Systems> covers matching solvent or aqueous stages to the contaminant and rinse chemistry.
Resolve Residue Problems at the Process Level
Persistent residue rarely comes from a single component. It usually reflects a mismatch among detergent, rinse aid, water quality, mechanical drainage, and drying. A residue-corrected process includes the right chemistry, controlled dosage, verified rinse water, adequate drain geometry, and a detection step rather than waiting for the final customer to report the failure.
If you are specifying a new cleaning line or upgrading a residue-prone process, contact GTKCLEAN at [email protected] or +86 17768507147 with your part geometry, production volume, and current cleaning chemistry. A practical multistage cleaning specification can be built around your worst-case part, not just the cleanest sample on the bench.
FAQ
Can rinse aid itself make parts dirty?
Yes. A rinse aid that is over-dosed, incompatible with hard water, or used at too low a temperature can leave an organic film that appears as haze, sheen, or water beading after drying.
How do I know if residue is detergent or water spot?
One useful distinction is behavior. A water spot is usually mineral scale from drying dissolved solids and often appears in ring-shaped deposits where a droplet evaporated. Detergent residue is more likely to be a uniform haze or sticky film. Conductivity testing and water break behavior help confirm.
Does DI water eliminate the need for rinse aids?
Not always. DI water removes mineral content but does not by itself guarantee complete sheeting from complex geometries. Rinse aids can still be useful for drainage, but they must be dosed within the recommended range and followed by adequate final rinsing.
What rinse aid concentration should I use?
Start at the chemistry supplier’s recommended range for your water hardness and part geometry. Use the lowest dose that gives complete sheeting, then verify final rinse conductivity and residue tests before raising the dose.
Can ultrasonic cleaning remove existing residue?
Ultrasonic energy can help remove loosely attached residues from surfaces and blind holes, but baked-on films, scale, or cured coating defects may need a mechanical or chemical pre-treatment step. Prevention through rinse design is more reliable than rework.
References
[1] ASTM International, D1193-06(2018) Standard Specification for Reagent Water, West Conshohocken, PA, USA, 2018. [Online]. Available: https://www.astm.org/d1193-06r18.html
[2] ASTM International, G122-20 Standard Guide for Evaluating the Effectiveness of Cleaning Agents, West Conshohocken, PA, USA, 2020. [Online]. Available: https://www.astm.org/g0122-20.html
[3] ISO, ISO 16232:2018 Road vehicles — Cleanliness of components and systems, Geneva, Switzerland, 2018.
[4] United States Pharmacopeia, USP <1231> Water for Pharmaceutical Purposes, USP-NF, Rockville, MD, USA.
[5] B. Kanegsberg and E. Kanegsberg, Handbook for Critical Cleaning, 2nd ed. Boca Raton, FL, USA: CRC Press, 2011.
If you’re interested, check out these related articles:
Reduce Energy Costs in Industrial Ultrasonic Cleaning
Ultrasonic Cleaning Systems for Manufacturing A Technical Guide
How to Select the Best Cleaning Solution for Metal Parts
How to Integrate Automated Cleaning into Production Lines